
Behind the Scenes: A Bathroom & Laundry Renovation
I’m currently working on a bathroom and laundry renovation for a client in Manitou Springs, Colorado. The house is special—it’s the oldest inhabited home in Crystal Park, built in 1910. The granite walls and white quartz details were all sourced from the property itself, so there’s a deep connection to the land and the home’s history.
The project started with a simple idea: combine a small bathroom and a tight laundry area into one open, functional space. The goal was to make everyday life more comfortable while keeping the calm, timeless feeling of the house.
My Role as a Design Consultant
For this project, I worked closely with my client to:
Explore layout options
Select materials and finishes
Create floor plans, mood boards, and 3D visualizations
Provide a design package she could use to guide the renovation at their own pace
The Design Process
1. Defining the Vision
The first step was to define what the space needed to do:
Improve function for daily living
Combine laundry and bathroom in a way that feels natural
Add a shower, since the original layout didn’t have one in this part of the house
Use materials that respect the home’s history but bring in modern comfort
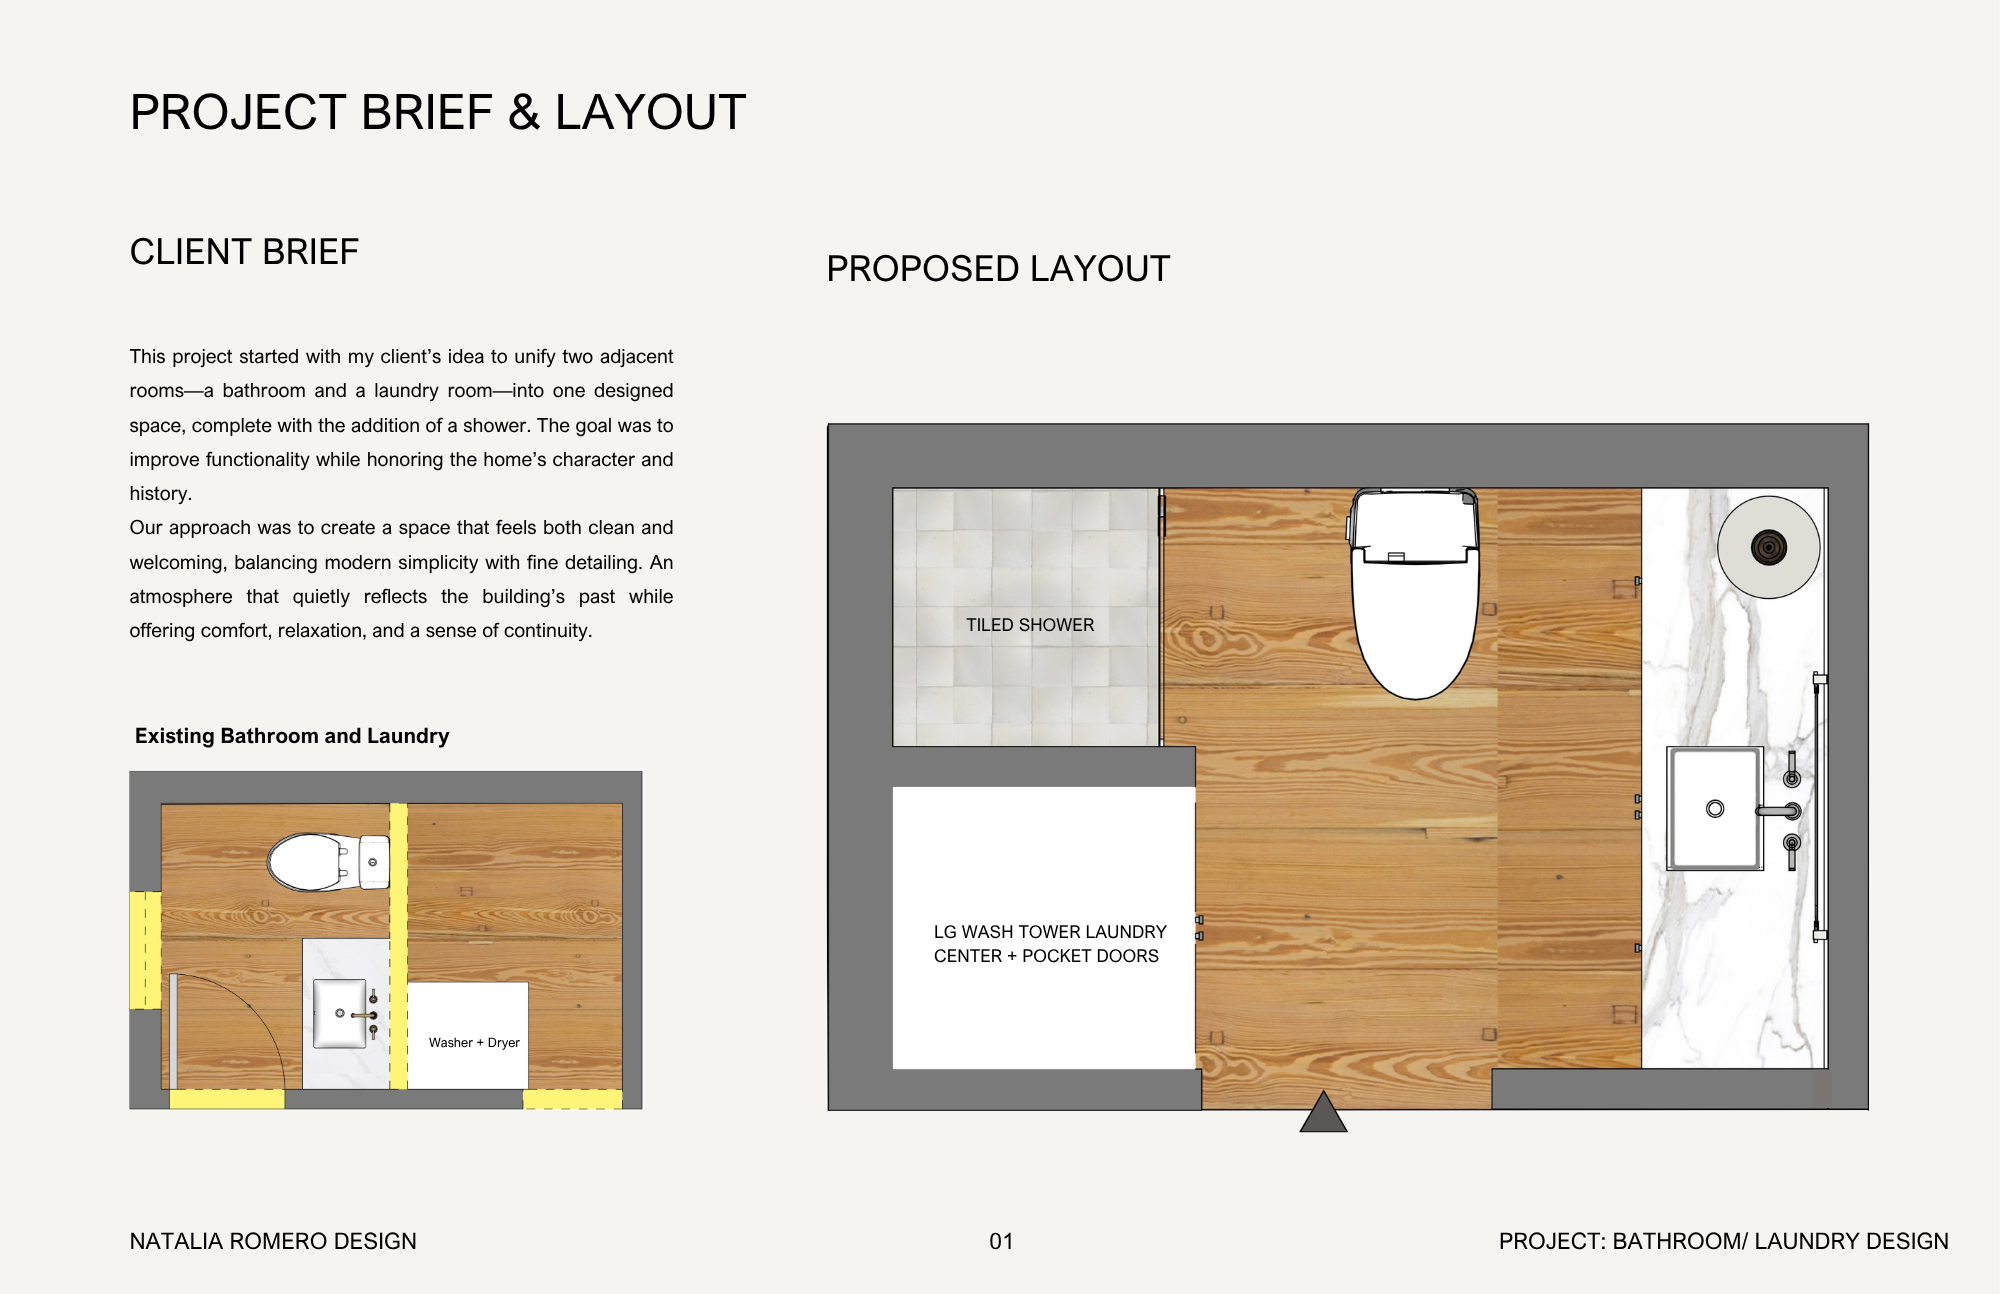
2. Reworking the Layout
We studied the existing layout and explored ways to improve the flow.
The new plan removes the wall between the two rooms, closes off two old doorways, and adds a sliding door for smoother movement through the space.
3. Mood & Materials
Once the layout was clear, we moved on to the look and feel of the space. We curated a neutral, warm, and textured palette, using natural materials to create a sense of calm, and to complement the home’s special character. Every material was chosen with care, focusing on simplicity, and quality.


Selections include:
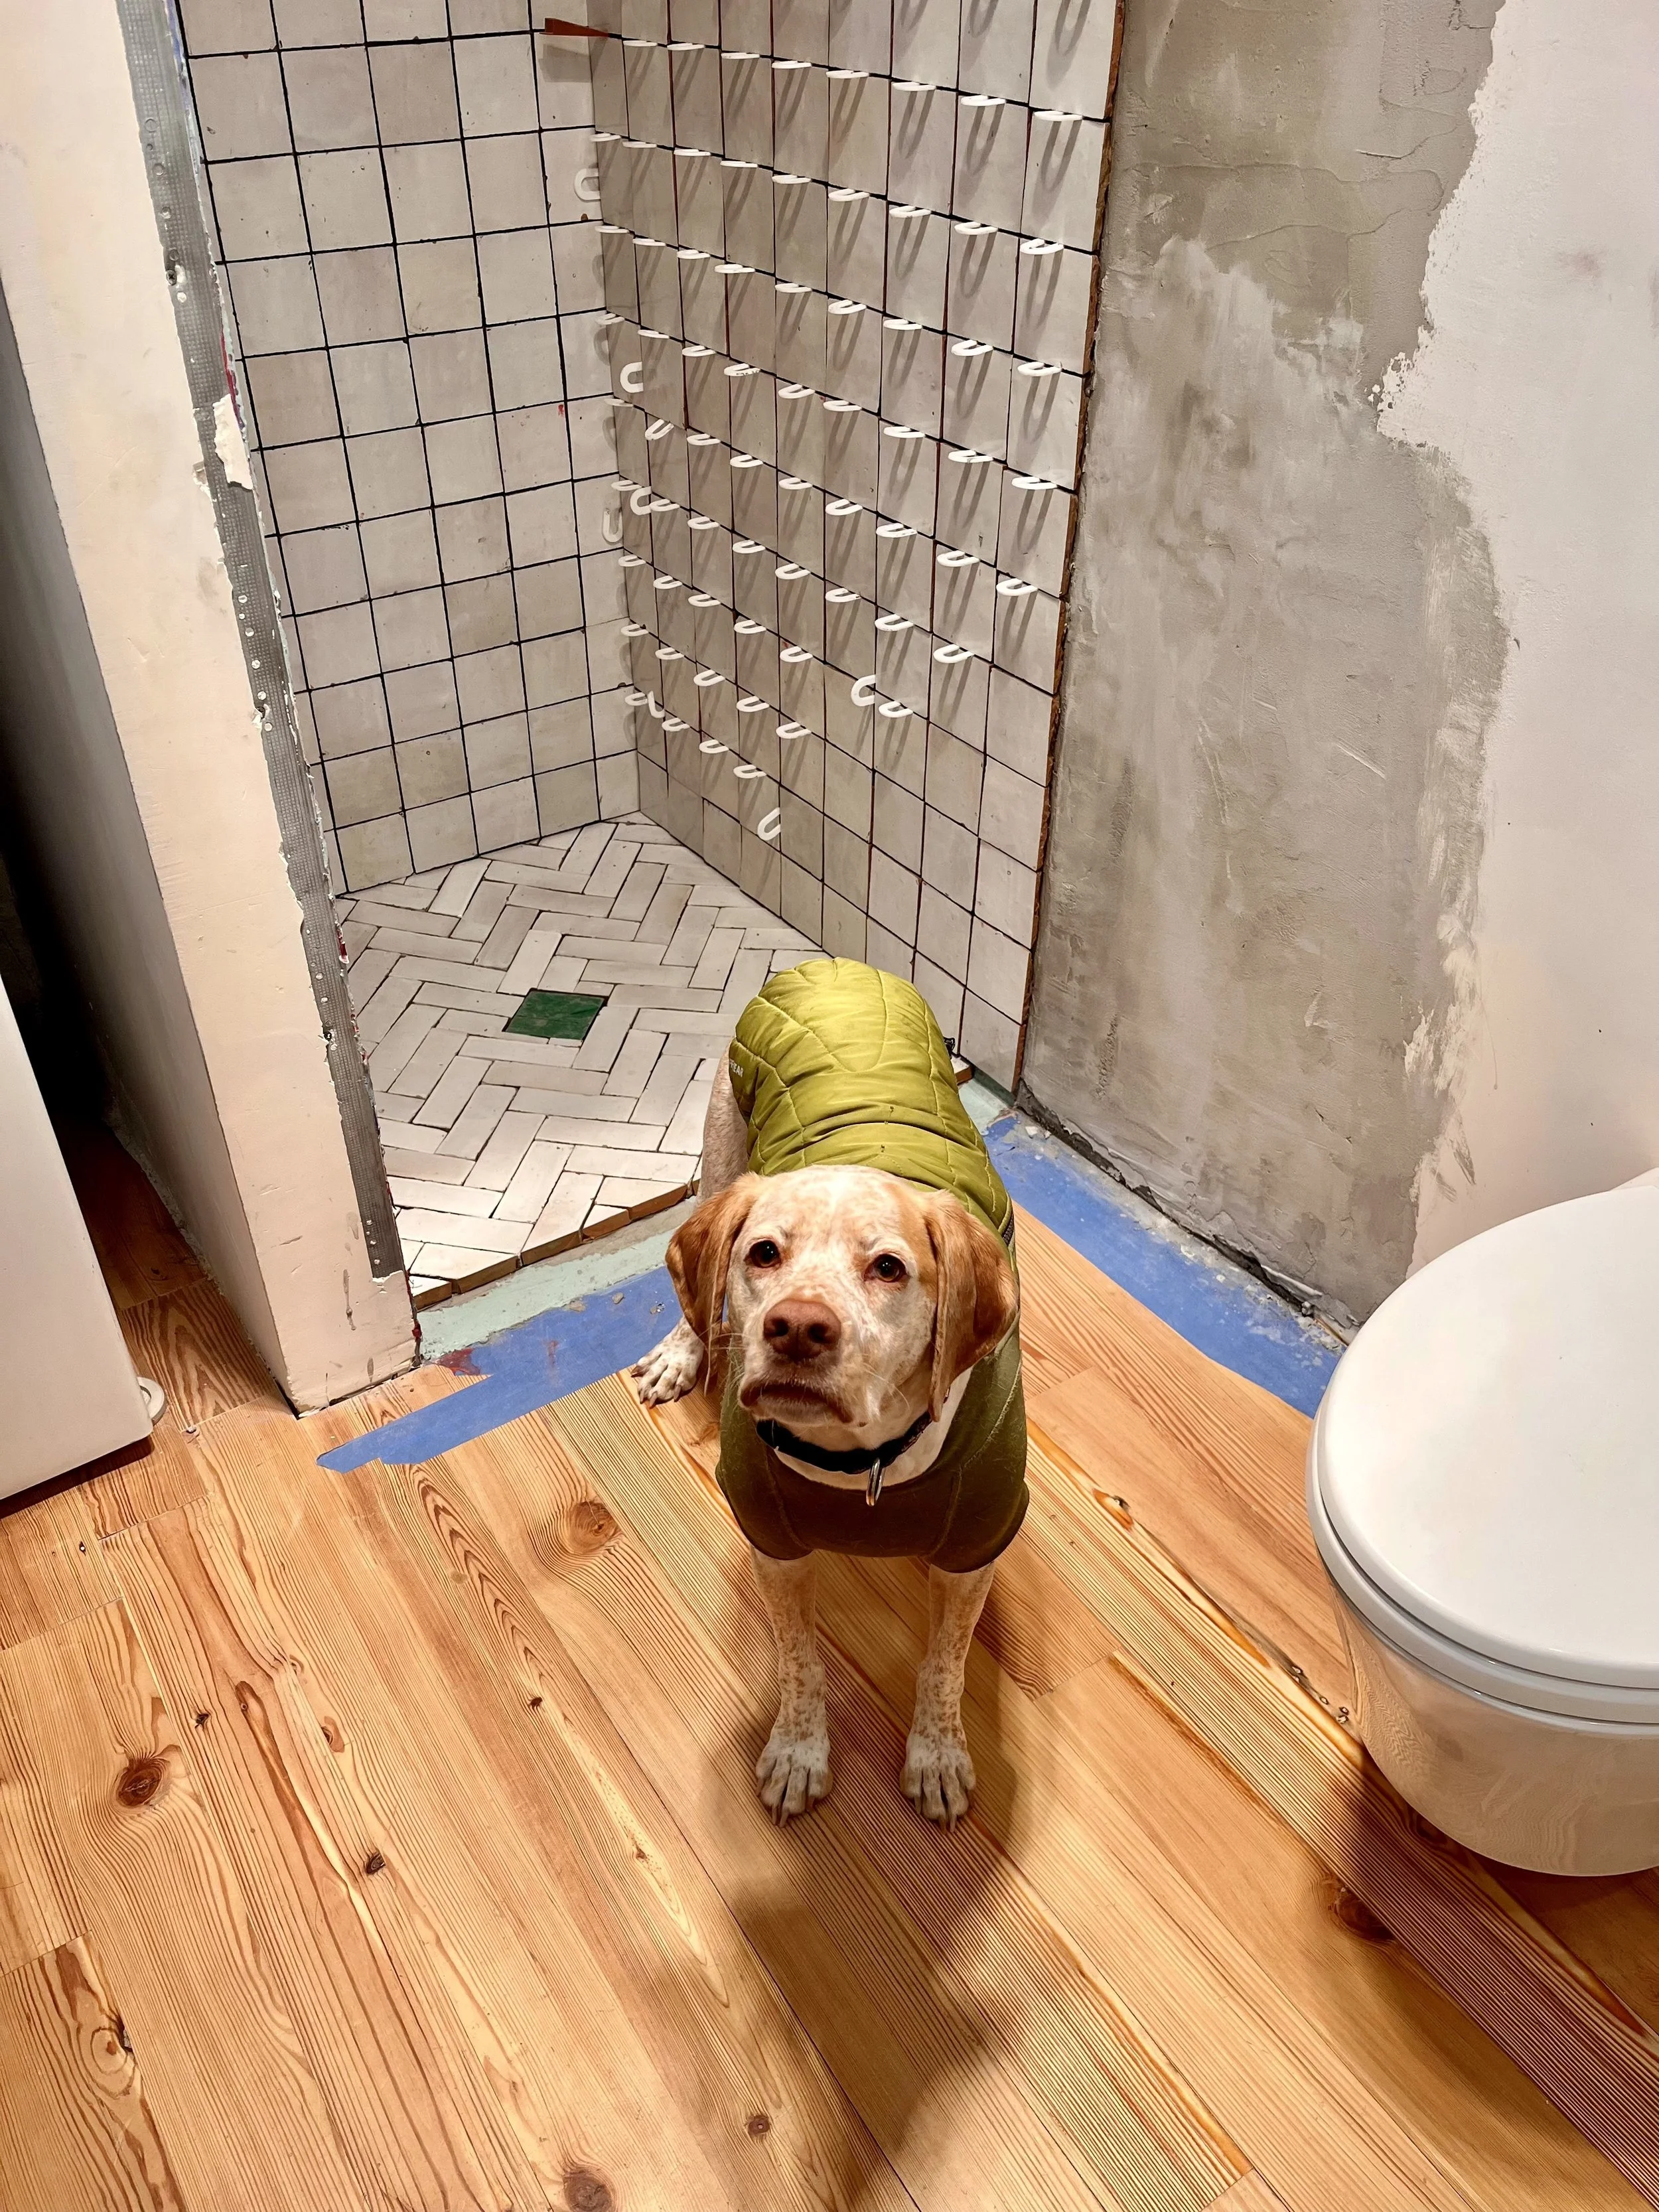
Zia Tiles Zellige for the shower —4” x 4” tiles on the walls and 2” x 6” tiles in a herringbone pattern for the floor
Carrara marble countertop
RH 1930 Mackintosh Polished chrome fixtures for a soft modern touch
A custom wall-to-wall vanity for storage and simplicity
DeVol crackled pendant light for a handmade feel
4. Visualizing the Design
Before construction started, I created 3D renderings to help the client visualize how the space would come together—from layout to materials and lighting.
These images are a helpful tool to imagine the final result, but they’re just one part of the design process. Along with the renderings, I also provide clients with complete design documentation—including floor plans, elevations, material specifications, and a shopping list—so they have everything they need to bring the project to life at their own pace.


Construction & Progress
Once the design was finalized, the demolition phase began. The old fixtures, cabinetry, and the dividing wall between the bathroom and laundry were taken out, opening up the space for the new layout.


Vanity Installation
After demolition, the custom wall-to-wall vanity and Carrara marble countertop were installed—both key elements in the design. The vanity creates a clean, simple line across the wall and adds generous storage, while the marble brings a soft, natural texture to the space.


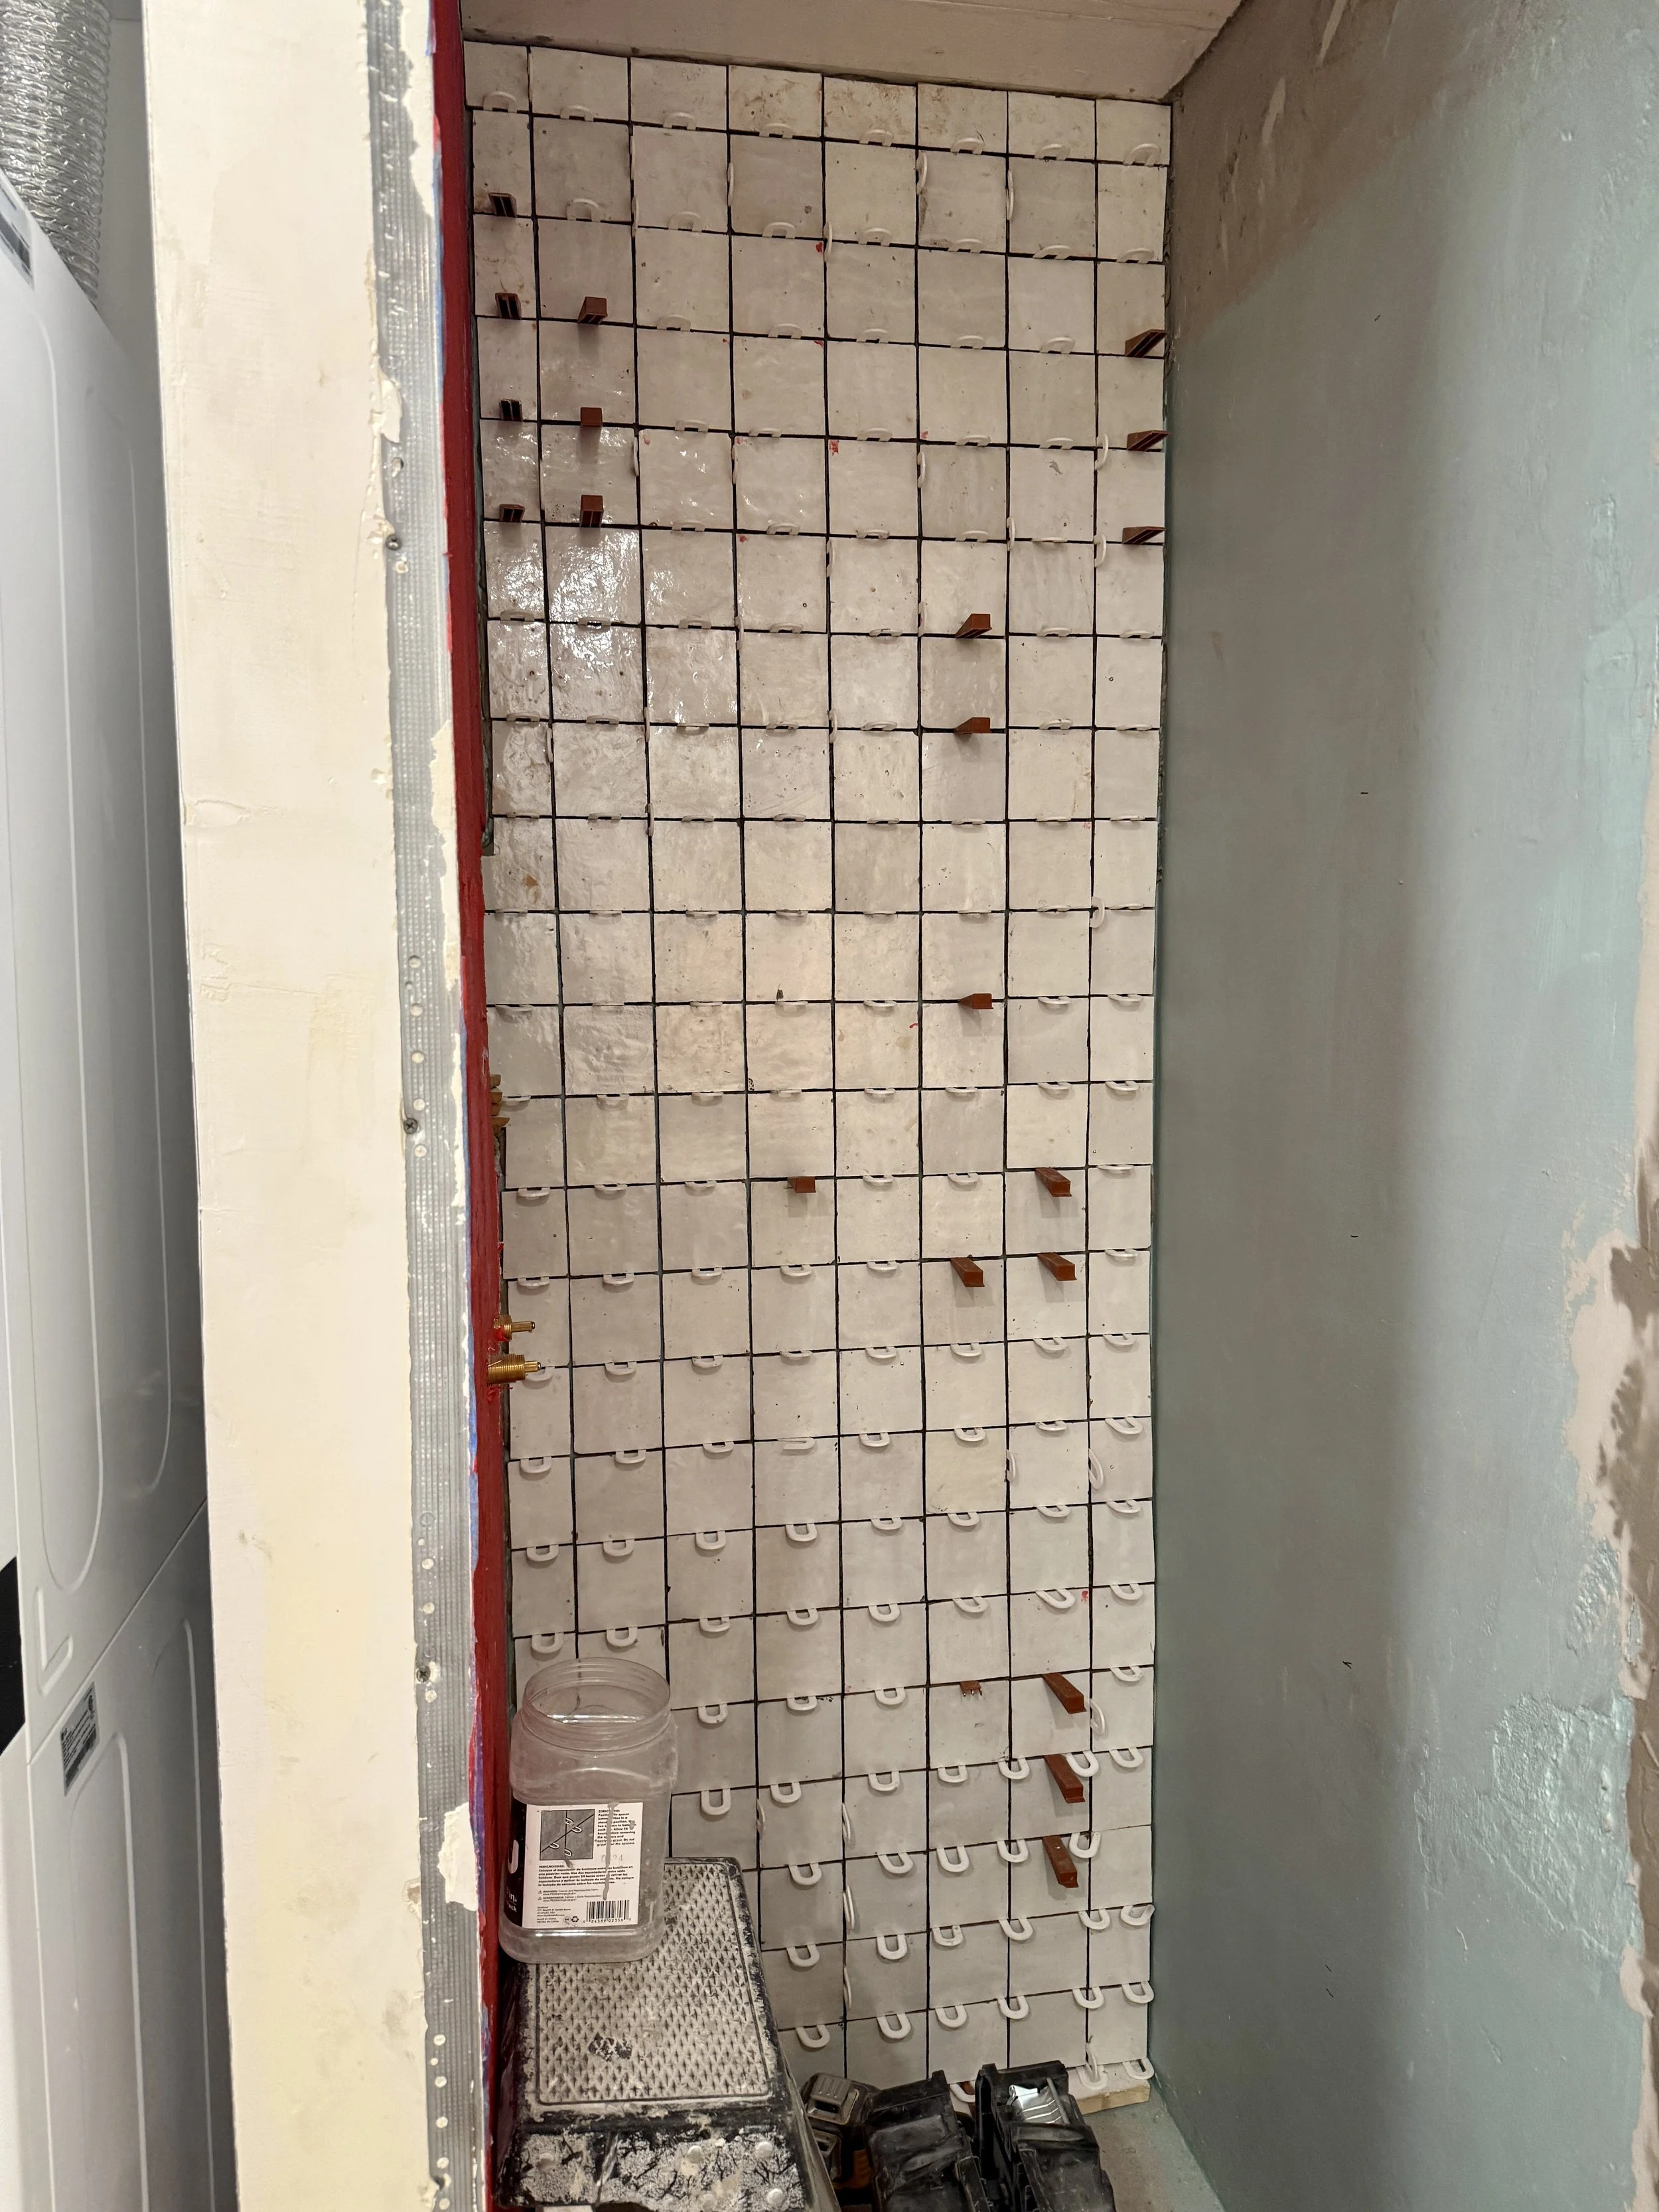
Tiling the Shower
Once the walls were prepped, the handcrafted Zellige tiles were installed—always one of my favorite moments in the process, when materials start coming together. Zellige is special because each piece is unique, with subtle variations in color, texture, and surface that give the finished space a natural, organic look.
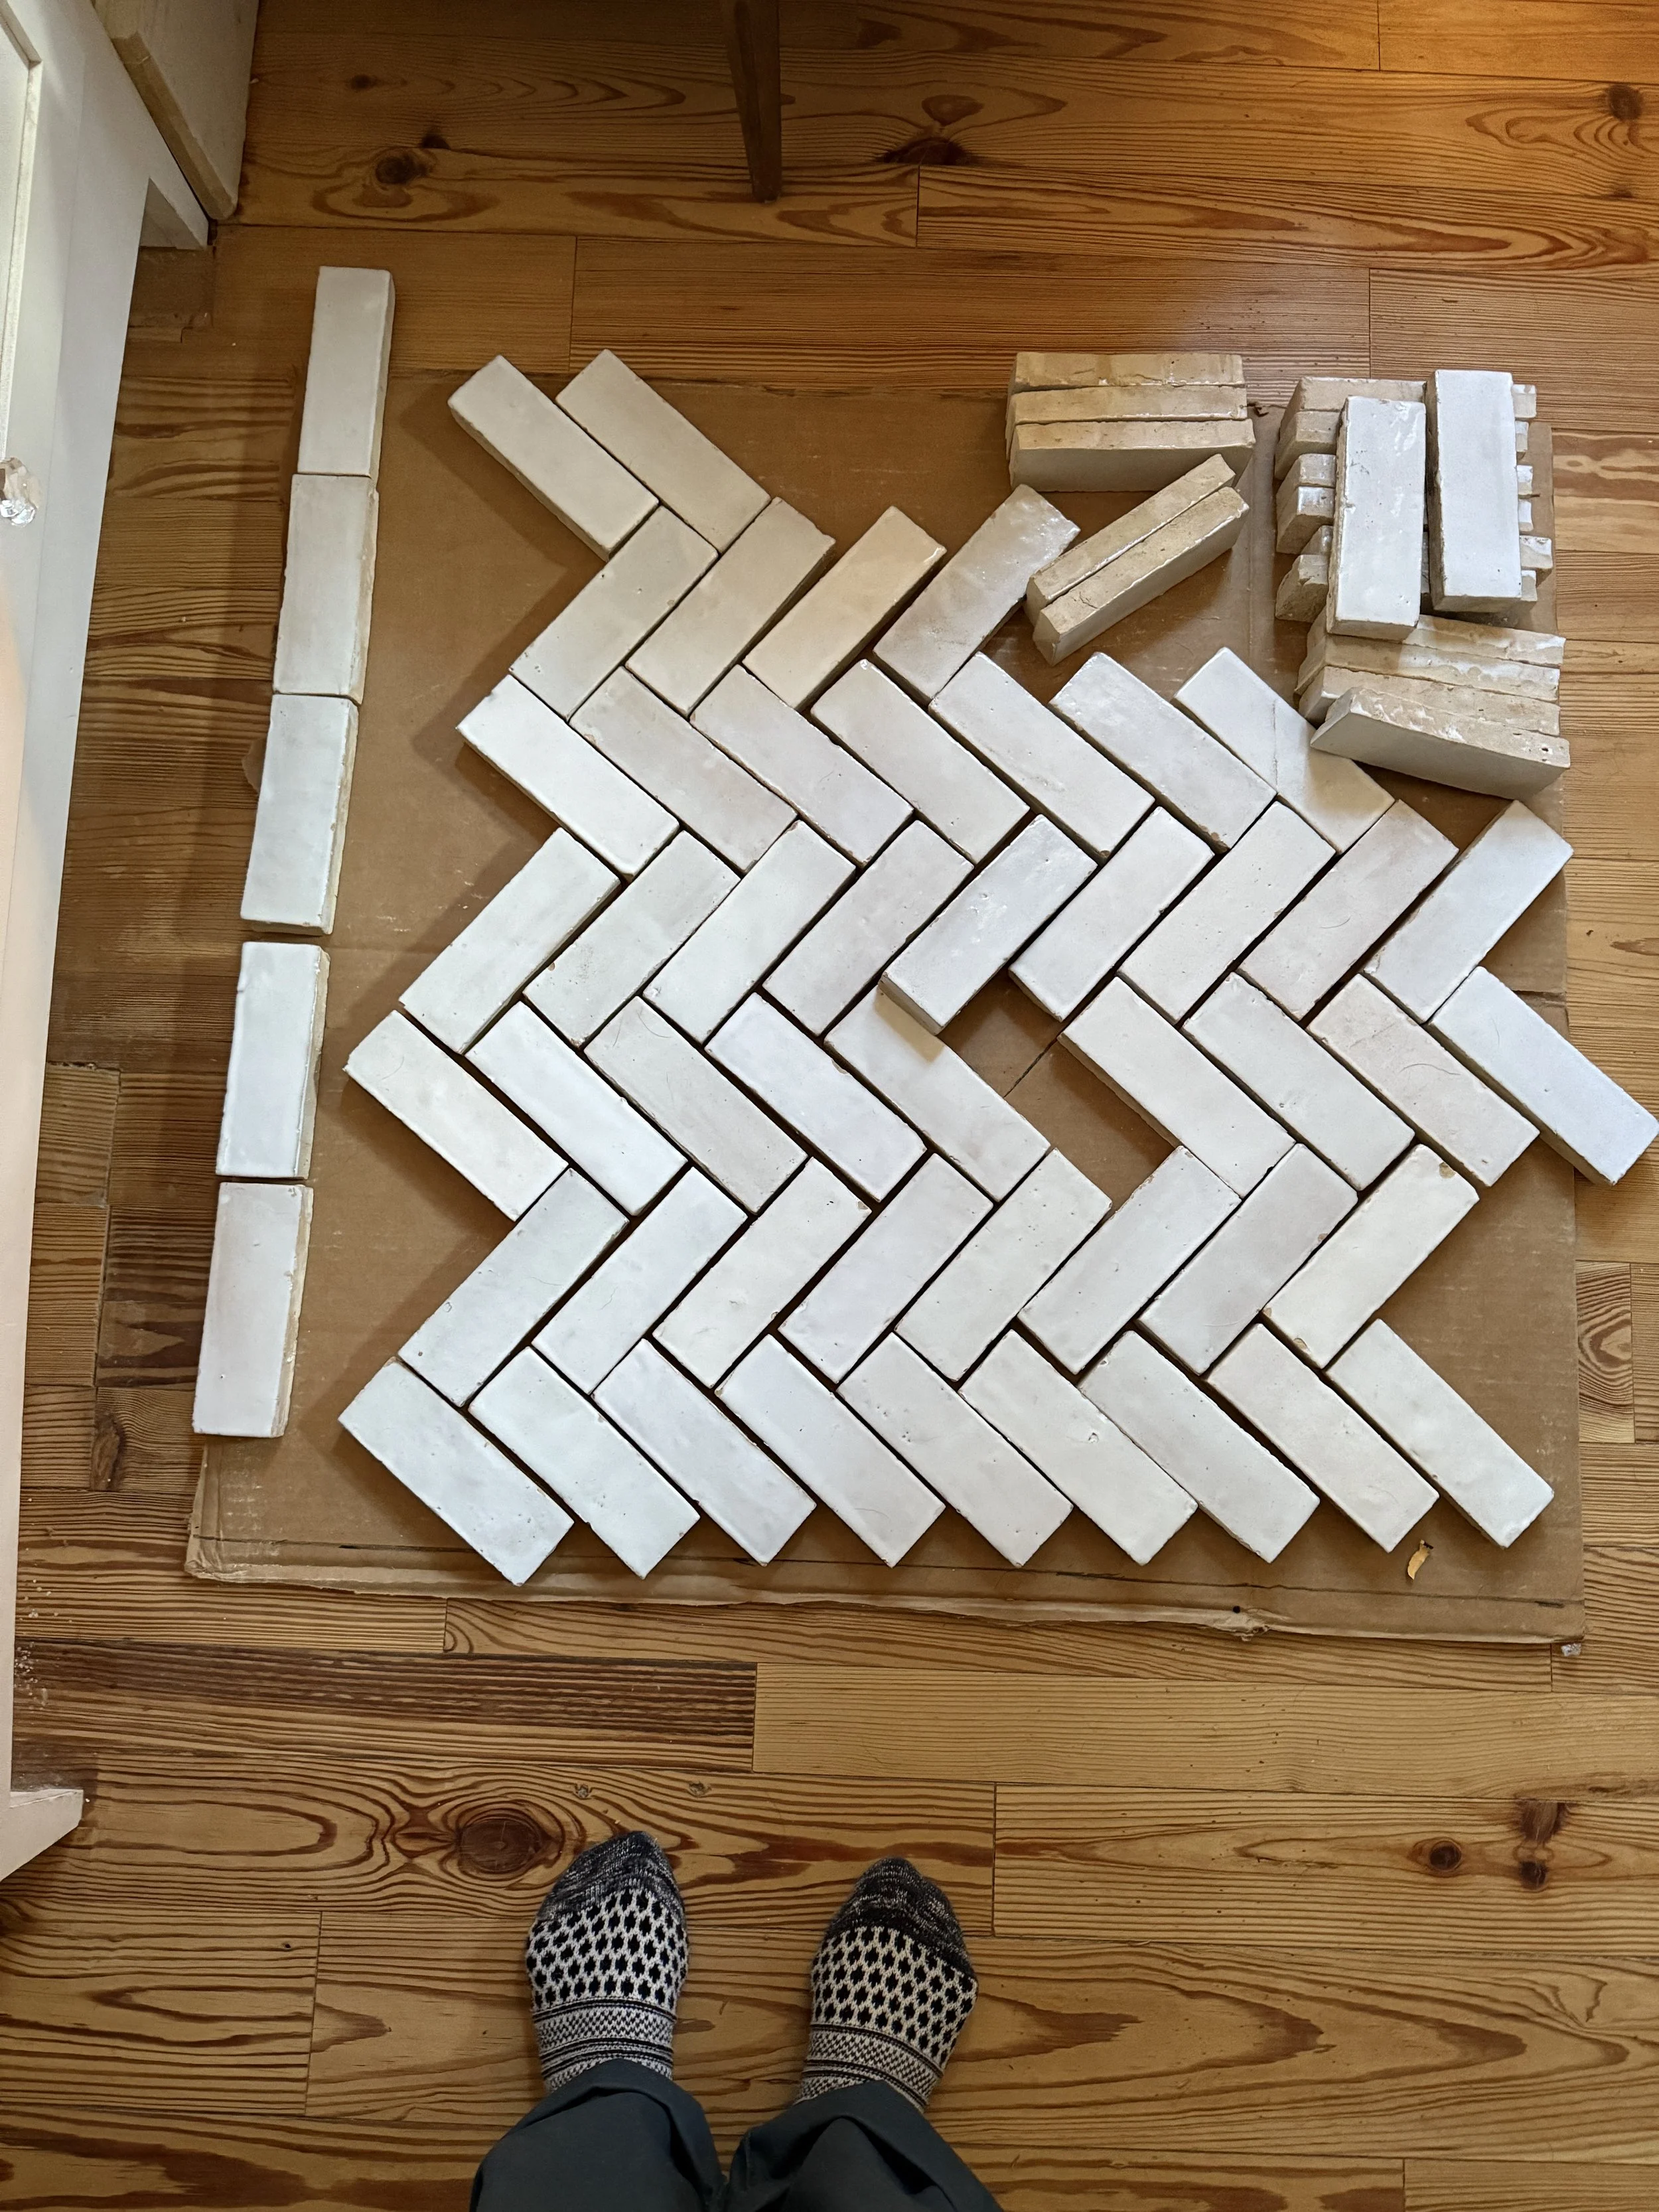
Design Tip:
When working with Zellige, I always recommend opening all the boxes first and laying out the tiles before installation. This helps balance the color variation throughout the space, so the final result feels intentional and even.

What’s Next
The next steps include:
Finalizing tile installation
Completing the lighting and fixtures
Adding sliding pocket doors to conceal the washer/dryer

This project is still in progress, but it’s exciting to see the transformation unfold—from initial ideas and mood boards to construction and final details.
Working on renovations like this is always about more than just updating a space. It’s about solving for everyday function and helping clients create a space that feels good to live in.
I’ll share more updates as we move toward the final stages of the project. In the meantime, thank you for following along.
If you’re curious about working together on your own project, whether it’s full design services or consultation support, feel free to reach out or connect with me on Instagram @nataliaromero_design
Natalia X